Table of Contents
Installation
24V/1A DC is required to power converter. Standard consumption is lower, but switched-mode power supply requires high inrush current.
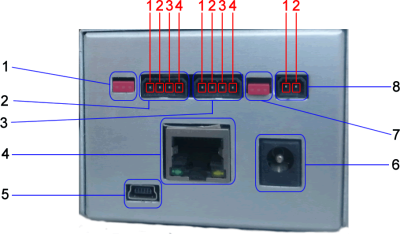
Peripherals description
- Jumper - RS485 terminator
- RS 485 [C-bus] connector
- RS 232/MMI connector
- Ethernet
- USB Slave
- Do not connect
- Jumper - MMI power supply bridge between RS 232 DB9 and port 3.
- Power supply 24V DC
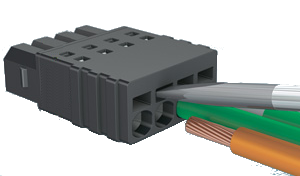
RS 485 connector
RS 232 connector
- GND
- MMI power
- TxD
- RxD
Power supply 24V DC
- -24VDC
- +24VDC

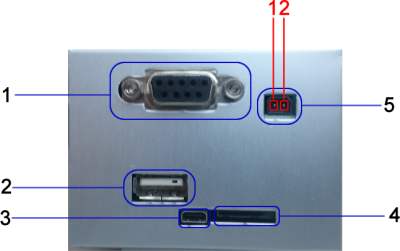
- RS 232 DB9
- USB Host
- HDMI Do not connect
- Micro SD slot
- M-Bus
M-Bus connector
- M-Bus
- M-Bus


Linux COM port names
  RS485 - /dev/ttyO5
  M-Bus - /dev/ttyO4
  RS232 DB9 - /dev/ttyO1
  RS232 MMI - /dev/ttyO2
First run

Converter requires about 1 minute to start all services with web interface.
Web inteface should be accessible on web address http://192.168.0.202
Login page will be displayed after successfull connection.
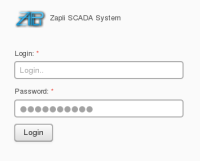
Default credentials are:
Username: root
Password: 123
By pressing Login button you will log in.


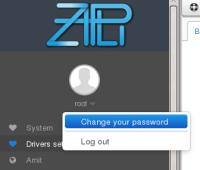
Changing password
You can change your pasword by clicking on your username located in menu below logo. Small context menu should pop up with option to Change password.
